As a social media manager, understanding how to leverage Facebook Ads for your marketing strategy is essential. Facebook Ads can transform your business’s social reach without hurting your budget.
In this guide we’ll share with you everything you need to know about
advertising on Facebook—from setting up a campaign to tracking results.
What is Facebook advertising?
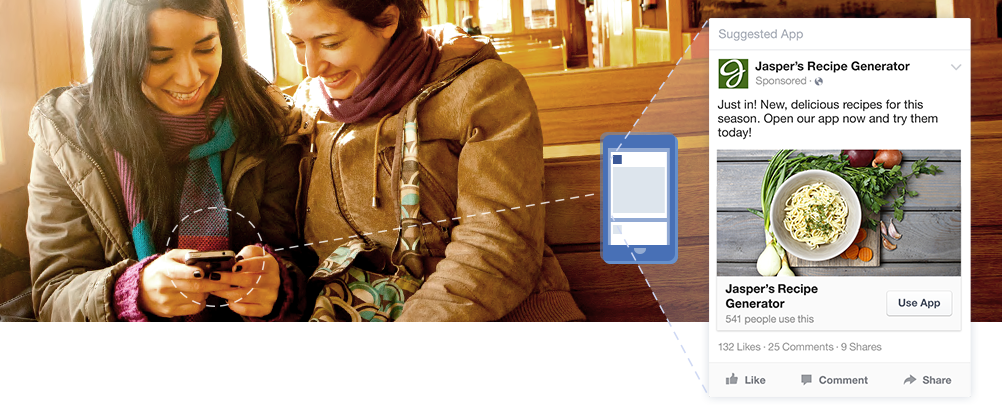
Facebook advertising allows businesses to promote custom ads or
content targeting a specific audience, with costs varying based on the
reach and engagement the ad receives. Facebook ads can appear in your
target audience’s News Feed or right column of Facebook. Image via Facebook.When you advertise on Facebook, you’ll gain insight about your
current and potential customers. The data you collect through Facebook
ads allows you to improve your ad targeting for a more efficient and
effective advertising experience.
3 Facebook advertising best practices
Before you begin, remember these three Facebook advertising best practices:
Always determine your objectives before you start. It’s
important to know the purpose of your Facebook Ad before you decide on a
budget for advertisements. Understand whether the aim is to increase
for brand awareness, conversions, video views, etc. Each action made by
your audience on your Facebook ad costs money, so make sure you solidify
your objectives before making those investments.
Be specific on your audience targeting.
Facebook houses millions, if not billions, of data points. Take the
time to narrow your audience targeting to ensure your ad will appear
where the people you want to see it will be.
Rotate your ads regularly. To avoid
ad fatigue, rotate your Facebook ads regularly. ‘Ad fatigue’ is when
people see your ad too many times, so they get bored and stop clicking.
Unfortunately, when your clickthrough rate starts to drop, Facebook
penalizes you, driving up your cost per click (CPC)—which makes likes,
comments, and clickthroughs more expensive. This affects both
acquisition and engagement campaigns.
How to advertise on Facebook in 7 simple steps
With these seven steps, you’ll be able to define your objective, target an audience, set a budget, and place your ad.
Step 1: Create a Facebook business page
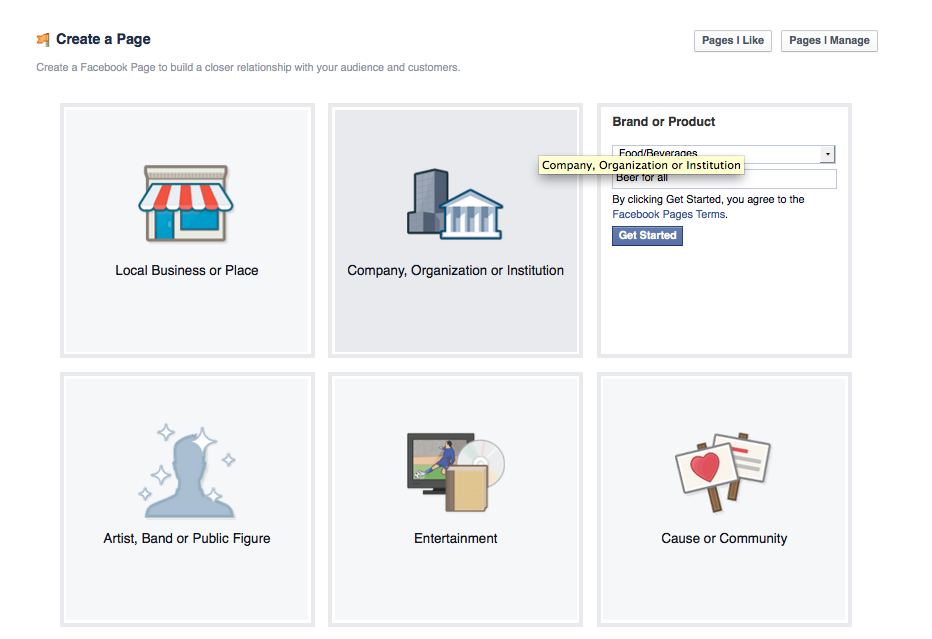
When creating a Facebook Page,
an important step is determining the category of the Page. Choose an
appropriate category that best describes the nature of your business and
will help people find your Page. The category name is displayed on your
Page, so it’s one of the first things a user sees when they visit your
brand on Facebook.
Click Get Started and follow the on-screen instructions
Keep these best practices in mind when creating a Facebook Page:
Fill out your page info in full detail
Include a relevant Facebook profile and cover photo
Have a Facebook Page strategy
Step 2: Create goals for your Facebook ads
When creating a strategy for your Facebook Ads, make sure your goals are S.M.A.R.T. goals—specific,
measurable, attainable, relevant, and time-bound. Creating S.M.A.R.T.
goals for your Facebook Ads will help you achieve a better return on
investment.
For example, if you’re running a conference, your goal can be:
acquire 100 registrants in two months. This goal will now guide your
Facebook Ad strategy and help you choose the right type of ad.
Step 3: Choose an objective for your campaign
Now that you have created your Facebook Page and have goals for your
ads, you can now go into the Facebook Ads manager and choose an
objective for your ad.
If your goal is to acquire registrants for an upcoming event, the
Facebook Ad objective you would choose is to “Raise attendance at your
event.” Or if you want to drive people to your blog, then you would
choose the objective, “Send people to your website.”
Learn more about specific campaign options and how they can help you meet your objectives in this video.
Step 4: Choose your target audience and ad spend
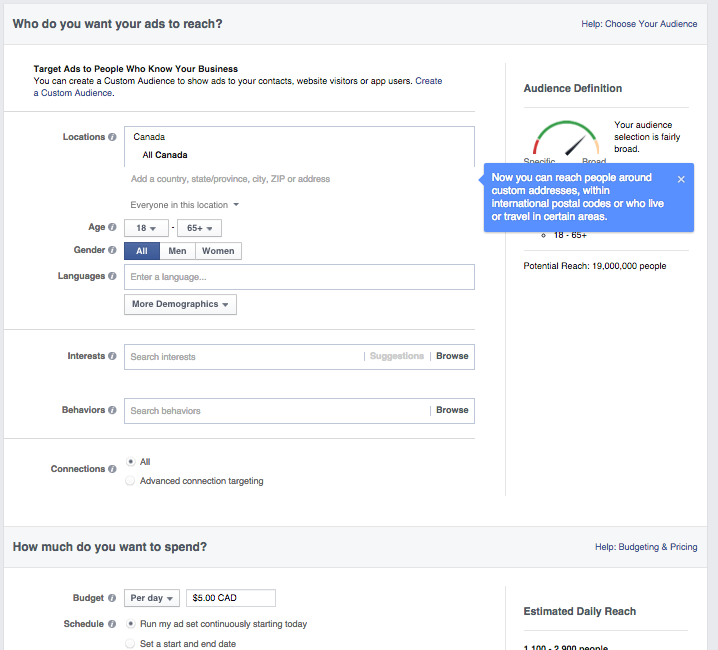
Customize your target audience
This step is crucial in setting your Facebook ad up for success. You
can target ads based on location, age, gender, language, interests, and
behavior.
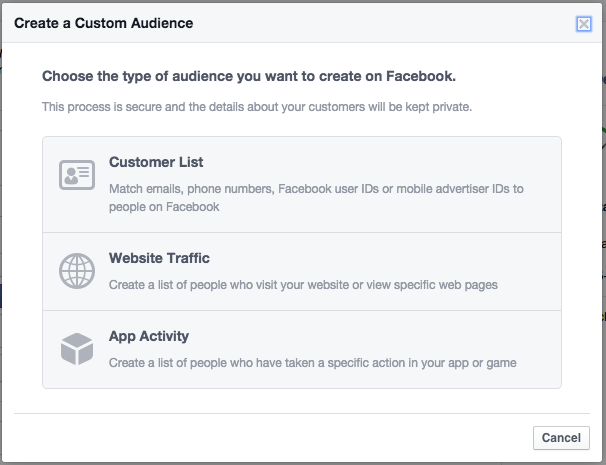
You can further customize by creating custom audiences
to reach people who already know your business, or to remove them from
your ad’s target audience so you can reach new people on Facebook. These
custom audiences can be created through a customer list, website
traffic, or app activity. Targeting the right audience will ensure you get the most out of your
Facebook advertising dollars. For advanced audience research and
targeting tactics, watch the video below.
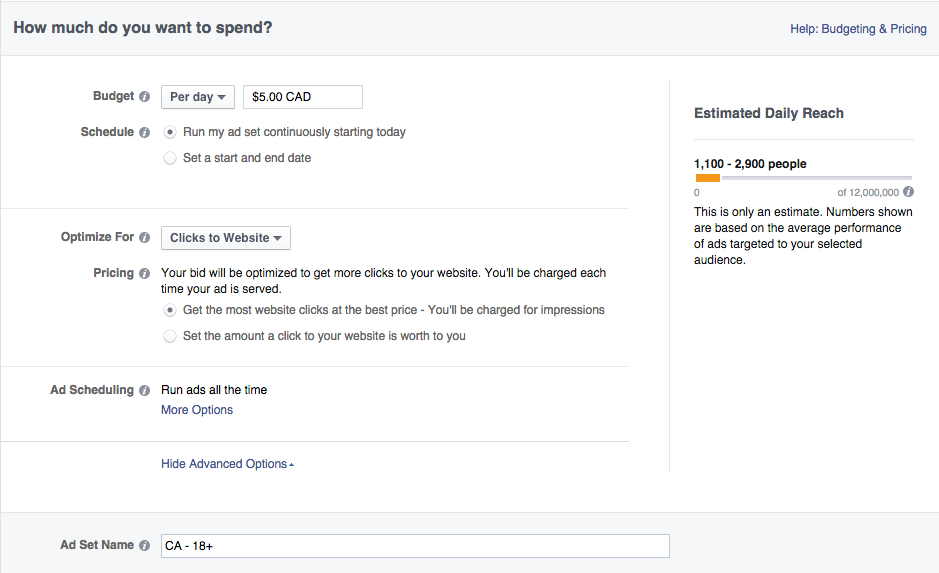
Choose your budget
After you’re done choosing your target audience, you can then choose
how much you want to spend on your ad. The ad budget you set is the
maximum amount you want to spend. If you choose to have a daily budget,
the amount you enter will be the maximum amount you’ll spend each day.
If you do a lifetime budget, the amount you enter is the maximum you’ll
spend during the lifetime of your ad.
Choose your objective
First, choose to bid for an objective: clicks or impressions. This
will determine how you will pay and who your ad will be served to. For
example: if you optimize for the Page like objective, you’ll be charged
when your ad is shown to people who might be more inclined to like your
Page.
Once you’ve placed a bid for your objective, choose when you want
your ad to run under ad scheduling. If you choose the lifetime budget
route, you choose specific hours and days of the week when you want your
ad to run.
Choosing to run your ad on a schedule is the most efficient way to
spend your ad budget wisely; this means that you are only serving your
ad when your target audience is most likely on Facebook. For example, if
you chose to target a specific region, you want to make sure you’re
scheduling your ad when they are awake, this will allow you to make sure
your ad will be seen by the people you want to target.
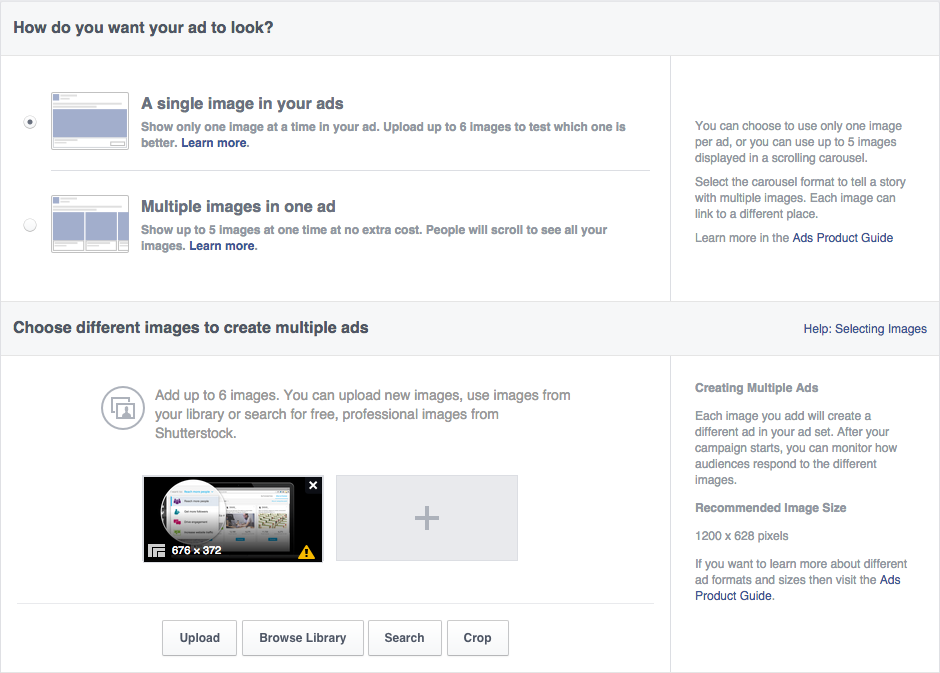
Step 5: Choose how you want your ad to look
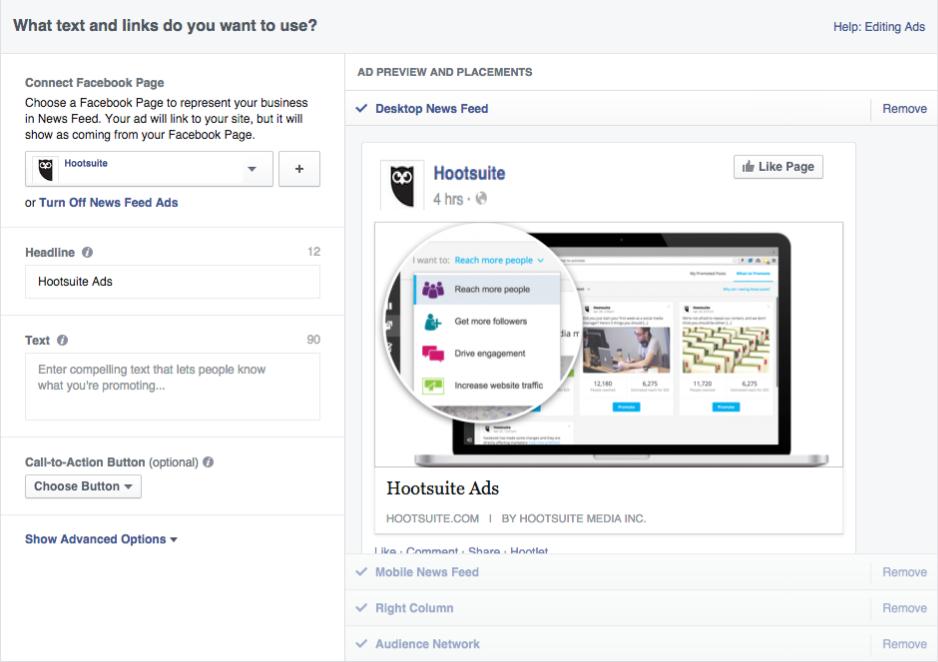
The actual creation of the ad is the fun part of advertising on
Facebook. Choose your images, headline, body text, as well as placement
of the actual ad. You can have up to five images and the headline text
can only be 25 characters.
Keep in mind that because your headline is so short, your copy has to
be intriguing enough for people to want to click on it. Along with the
headline, there is also text that will accompany the post. This can only
be 90 characters long, which means your copy needs to be clear and
concise (think of it as a really good Tweet!).
Lastly, you need to choose the placement of your Facebook Ad. Choose
whether you want it on people’s desktop News Feed, mobile News Feed,
right column, or audience network.
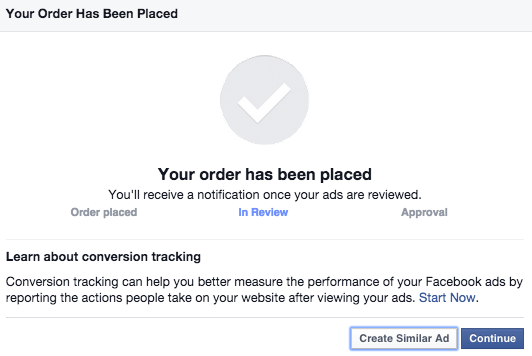
Step 6: Place your order
Once you’re ready for your ad to be reviewed, click on the green
button that says Place Order, located on the bottom right-hand corner.
You’ll receive an email from Facebook once your ad has been reviewed and
approved.
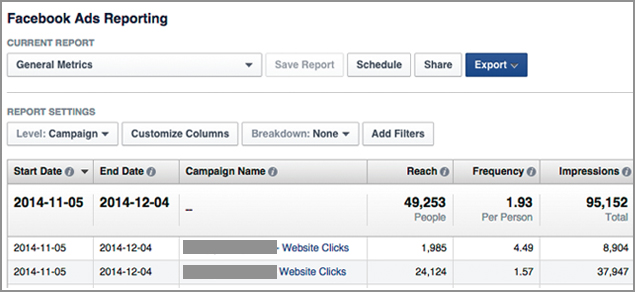
Step 7: Create a Facebook ads report
Now that you have created your Facebook Ads, it’s important that you report on the successes (and failures) of your endeavors. To create a report on your Facebook Ads visit Facebook’s getting started site.
Go to Ads Manager
and click Reports in the navigation. You’ll automatically see data from
the default report called General Metrics over the last 30 days for
your active campaigns.
Customize the metrics you see in your report and then click the blue Export button on the top-right column to download your report.
It used to be that you could get major attention just by using infographics.
Today, that’s not the case. Everyone is making infographics. Now,
you’ve got to make infographics that are better than the next guy’s
infographics. That’s not easy to do.
I’ve been creating infographics for quite a while. I’ve made
mistakes, but I’ve also figured out a few tips. Here are some of the
tips that can save your infographics from disaster.
1. Create your infographic for your target audience.
Coming up with an infographic idea is half the battle to creating a
killer infographic. And the way to come up with great infographic idea
is to figure out what your audience wants.
The infographics with the most traction, most attention, and most
virality, are ones that meet your target audience right where they want
it most.
One mistake that I’ve seen people make when creating an infographic
is that they try to choose something that is generically popular rather
than specifically relevant to their audience.
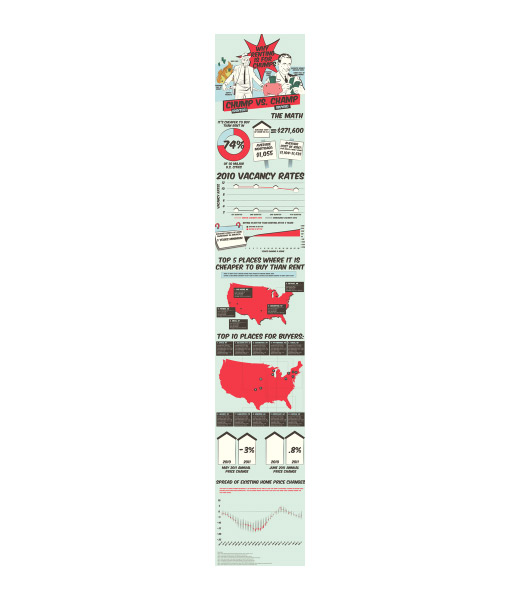
This infographic has a target audience — public school teachers.
Your goal is to create an infographic for your audience, not
necessarily for the whole world. Keep it specific, relevant, and
targeted.
2. Keep it simple.
One of the advantages of infographics is that they can distill advanced ideas into a simple visual form.
But the inherent advantage of infographics can be their demise. An
infographic can become needlessly complex, creating a mind-numbing
cognitive overload rather than an “Oh, I get it” experience.
Like everything else in life, infographics are better when they are simple.
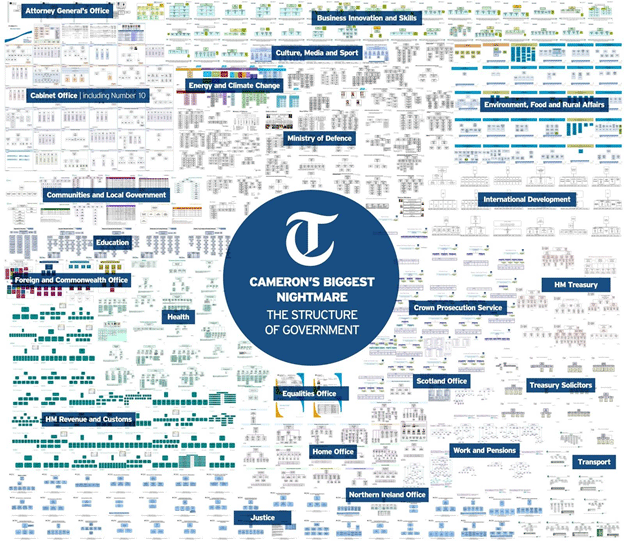
This infographic would work better as four or five infographics.
Simplicity, discussed above, is ultimately about focus. Don’t just
make your infographic a potpourri of facts and figures. Make it a
streamlined and focused on a single topic.
Infographics are not attempts to randomly assemble all the data you
can compile. Instead, an infographic is intended to drive a single,
focused point.
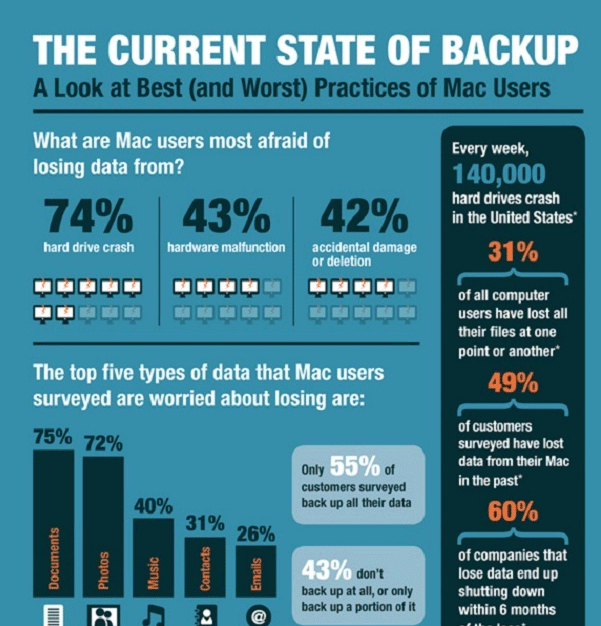
This infographic is focused on a single topic — backup practices of Mac users.
I’ve seen infographics that are short on the “graphic” and long on
the “info.” The best infographics are ones that have a good balance of
visual information with written information.
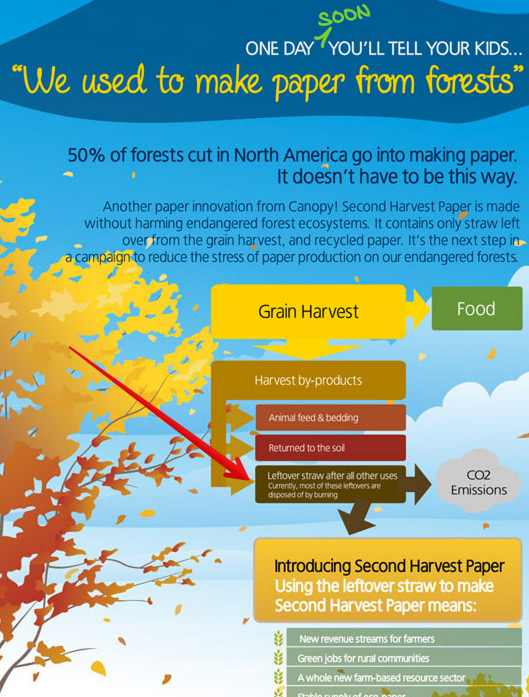
This infographic uses a few icons and an image, but not a whole lot
of other visual elements. To qualify for the “graphic” in infographic,
it needs some more visual pizzazz.
Major revelation: Infographics don’t automatically go viral.
If you want your infographic to explode in popularity, you will have to promote it. You do so in the same way that you’d promote any other valuable piece of content:
Reach out to influential sources in your niche and ask them to feature your infographic.
Make your infographic shareable with social plugins.
Ask users to share it.
There are a lot of great infographics out there languishing in
obscurity, because the creators never took the time to promote it.
Don’t
let your infographic die that soon. Promote, promote, promote.
6. Make it easy to view.
Sometimes, an infographic gets lost in its resizing.
The designer makes it huge, then the developer has to downsize it. In the process, the readability gets lost.
Many infographics have a variety of font sizes. Make sure that the
smallest font on your infographic can be seen without too much
difficulty.
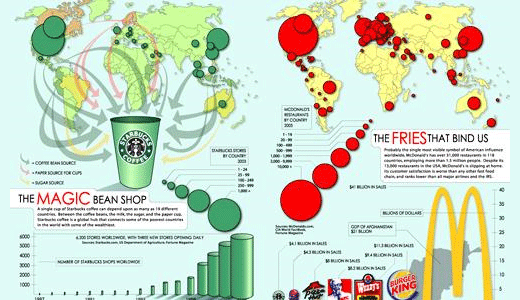
The words in the infographic below have become too small to read easily.
Along with a length limitation comes a necessary size limitation.
Users might be on a slow connection, so be courteous, and keep your
infographic to 1.5 MB.
8. Add white space.
An infographic is an exercise in graphic design best practice. Any graphic designer will tell you that white space is important.
There’s not enough white space in this infographic (which might be its point). Good infographic design includes a balance of visual elements with
the necessary negative space to help guide the viewers as they look at
the infographic.
9. Create a killer headline.
Your infographic’s headline is extremely important. This principle is
the same as with a great blog article. The infographic doesn’t get any
attention if it doesn’t have a great headline.
Good headlines will have these features:
They describe the infographic
They grab the user’s attention.
They are short enough to understand at a glance. 70 characters is a good length.
If you don’t have a powerful headline, your infographic simply won’t get viewed. That’s all there is to it.
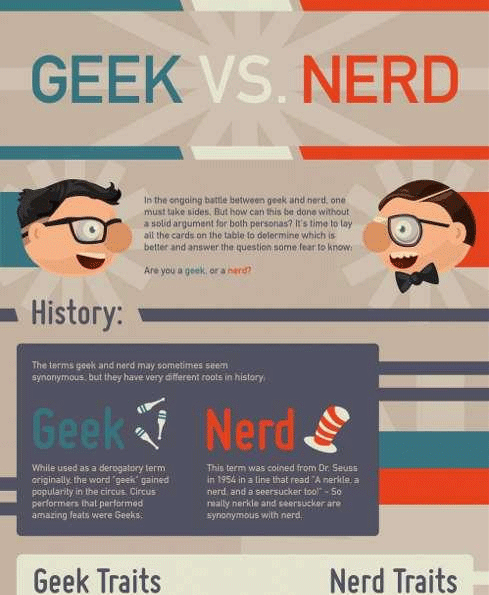
This infographic, for example, has a wordy title that might not get the level of attention it wants.
You need to put in the brainwork on the front end to make sure that
you have a really strong title. Your designer isn’t going to improve
upon the title itself when she puts it into visual form. You’re going to
have to make the title explosive and powerful yourself.
10. Focus on the flow.
The greatest strength of an infographic is that it can flow both cognitively and visually.
An infographic is like a good story. It has the ability to convey an
idea by taking you from one phase to another, sequentially and
seamlessly. The dots are all connected, and the ideas integrated.
There’s power in being able to move a viewer through a thought
process. But some infographics falter on this very point. Instead of
moving the viewer through a thought process, they simply throw a bunch
of information into graphical form.
When you create an infographic, do so by creating flow. The flow will help the user pay attention and to be persuaded by the message that you are presenting.
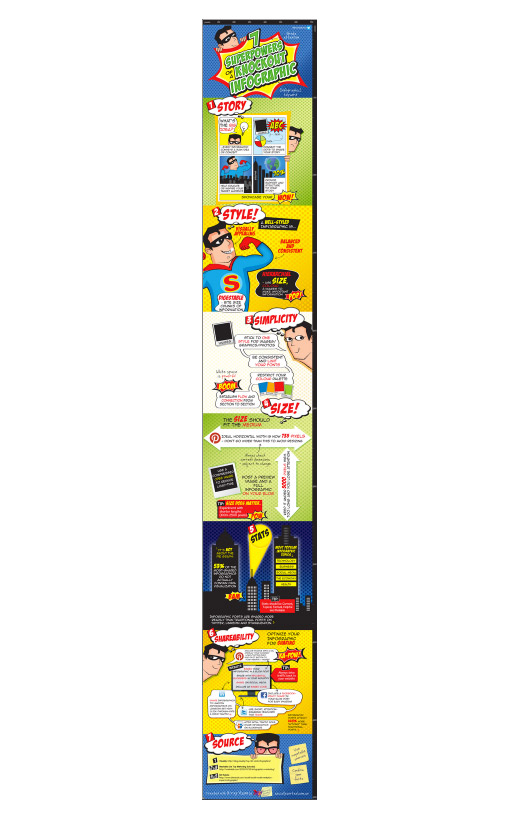
Even when this infographic is viewed from far away, it has obvious
flow. Each section has a number, a headline, and a different color
background. It’s comic book style helps us to better read each section.
Every one of the visual elements serve to create a more powerful flow.
Many infographics focus on presenting data. It’s a smart idea. Our minds can process stats and percentages way better when we see them, rather than just look at a number with decimal points and percentage signs.
But make sure that you’re being accurate, by focusing on these three oft-overlooked areas:
Make sure that the statistics themselves are true.
Make sure that your sources are reliable.
Make sure that your graphical representation of the data lines up with the number (if you have both)
If your infographic relies heavily on numbers and data, it pays to
give this area special attention, double-checking, and rechecking.
12. Cite your sources.
Just because you’re making an infographic doesn’t mean that you’re
released from needing to cite your sources. Where did you get your data?
Cite it.
Try to use sources that are as up-to-date as possible. Using old
stats, especially in an industry where information is always changing,
makes you seem out of touch.
I usually cite the source of my infographic data at the very end of the infographic.
You can also cite sources within the body of the infographic, as long
as it doesn’t distract from the flow and visual of the infographic.
Conclusion
Infographics are still alive and well. If anyone is saying
infographics are dead, they are either seriously misguided or just
haven’t seen any really good ones.
You can make a really good infographic. Just keep these tips in mind, and you’ll spare yourself a lot of wasted effort.
What else can you add? What are some infographic tips that you wish you knew a long time ago?
Facebook ads offer significant opportunities for brands to reach
highly specific, targeted audiences. But the key to success is in the
detail - while there are a wide range of options to utilize, this means
there's also a huge array of variations to consider, which can make the
process confusing for those unfamiliar. In some cases, this can lead to
less than optimal targeting, while some people simply choose the basic
options and hope Facebook will automatically generate results.
This is not the best approach.
To truly maximize your Facebook ads, you need to understand the
purpose behind each campaign, the intent, and the measures you'll use to
calculate their success (or failure).
Here are five questions to consider before launching your Facebook ad campaign.
1. Who is your target audience?
As with any content or marketing strategy, this should always be at
the top of your campaign planning session. Who are you marketing to?
What are the demographics?
The more specific, and focused, you can get with your target audience, the higher the conversion rates you'll see.
2. What action do you want them to take?
One of the first steps when creating a Facebook ad, is establishing
the actual goals you want it to achieve. Do you want to drive traffic to
your website? Increase email sign-ups? Convert on a product or service
or acquire direct messages?
This should be decided upon prior to creating any ad copy so you can
include that focus throughout the copy and accompanying visuals.
This will also help you establish which metrics to focus on, enabling you to plan out how you're going to track them.
3. Why should someone buy your service/product?
This is the big one - the “hit it home” selling point. What benefits
will a consumer receive from your service/product? What makes your
product/service unique?
This information should clearly be outlined in the ad copy - this is
what'll make someone want to click through on the ad, because it solves
his/her pain or problem.
4. Why should they contact you now?
You want to create a sense of urgency. Research shows that people
look at an ad for 15 seconds or less before moving on. 15 seconds and
that's it. You need to provide motivation for the consumer to click
immediately.
Perhaps you have a timely offer, a sale or special contest you can highlight.
5. How much is each lead worth?
Understanding the breakdown of costs until you have a number for each
lead is recommended so that you aren’t spending more on ads than you're
likely to gain in subsequent revenue. Have this number in mind while
setting your ad budget and time frame for running it. If you see that after 24-48 hours you're spending more than you
should per click, it’s time to re-assess the campaign and ensure you're
on the right track.
As noted, there's a lot to take in when utilizing Facebook ads, but
these key, establishing questions will help ensure your campaign starts
off on the right foot, helping you move closer towards maximizing
the potential of the platform.